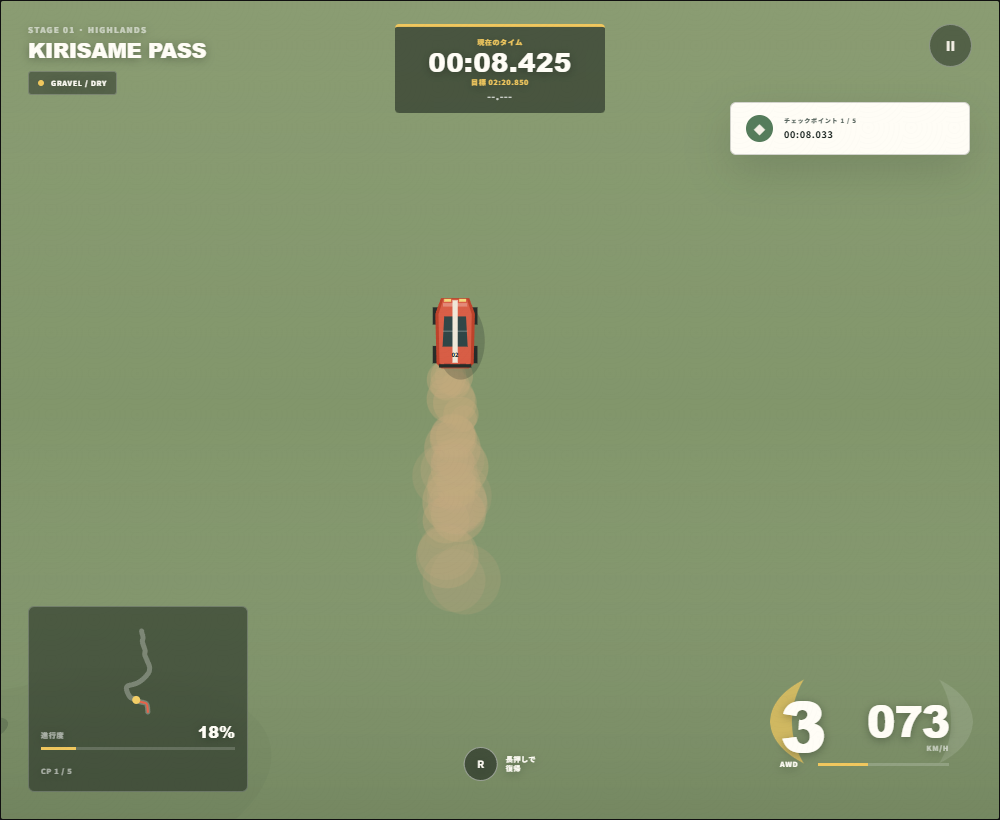
Improving a time means beginning the next acceleration sooner
The basic controls are W or Up for throttle, S or Down for braking and reverse, A and D or the Left and Right keys for steering, and Space for the handbrake. With manual transmission selected, use Q and E to shift. R returns you to the last checkpoint passed.
Trying to be fast only inside a corner leaves too much speed at entry, pushes the car wide, and delays acceleration at the exit. A better measure than top speed is the moment the car points toward the exit. Even if you spend an extra 0.2 seconds slowing over the first few meters, a longer throttle period from the exit into the next straight can recover it. Begin with a pace that allows a clean finish, then move the braking point one car length deeper on each attempt through the same section.
Build the basic line around three points
Entry: Finish slowing on the outside
Move to the outside before turning and complete most braking while the car is straight. The longer you combine braking with a large steering input, the less stable the car becomes. Read the next bend on the HUD and minimap: use brief braking for a gentle corner, and earlier, longer braking for a sharp one.
Apex: Pass the inside once
Rather than making many small corrections, set one steering input toward the inside and wait for the turn to finish. Reaching the inside too soon creates an early apex and sends the car wide at the exit. On mountain roads with limited visibility, place the apex slightly after the midpoint to leave more room on exit.
Exit: Apply throttle once the directions align
Apply throttle when the car and the next section of road point in nearly the same direction. Full throttle while a slide remains adds lateral movement and requires more countersteer. Briefly easing off to straighten the tires, then accelerating directly, is faster overall.
Make braking repeatable
If you slow by feel alone, the starting point changes on every run through the same corner. Choose one fixed marker: a background tree, a change in roadside color, or the start of the bend on the minimap. Brake at that marker first. If the car is comfortably slow, delay by half a car length next time; if you leave the course, move back one step. This repetition produces a repeatable run rather than an accidental good time.
- Run the Balanced preset and choose a marker for each corner.
- Only where the car ran wide, begin braking before the marker next time.
- Only where there was spare room, delay braking by one car length.
- If the OFF ROAD time in the results increases, revert that change.
The Space handbrake is not a general-purpose brake for making every turn tighter. Reserve it for briefly changing the car's direction in a slow, sharp hairpin. Holding it loses both speed and stability, so release as the car begins to rotate and return to normal steering and throttle.
Adjust inputs for each surface
KIRISAME PASS: 82% gravel
This is 6.8 km of dry gravel. Expect slides to persist longer than on tarmac: brake earlier and avoid a single deep steering input. Loose Gravel is a starting preset focused on rotation and traction. If the wheels spin at an exit, briefly ease off before applying throttle again.
OCHRE FIELDS: 64% dirt
At 7.4 km, it has relatively gentle curvature among the four routes. Avoid broad weaving and use brief steering inputs to extend straight sections. Where grip is sufficient, it is a suitable place to practice precise braking points rather than top speed.
SHIOSAI COAST: 71% tarmac
This is 8.1 km of damp tarmac. Dry Tarmac provides a responsive baseline, but the surface is marked DAMP. Do not raise entry speed as though it were dry; first complete a lap and note where grip breaks. Steering response is quick on tarmac, so simply reducing weaving from excessive input makes times more consistent.
HAKUGIN LINE: 90% snow
This 5.9 km snow route climbs 512 m. Starting from Fresh Snow, begin both braking and steering earlier and with smaller inputs than on other surfaces. A large correction immediately after a slide causes a snap in the opposite direction. Center the input once, then correct after the car's rotation subsides.
Choose a car by what its statistics do
The GARAGE contains 36 fictional cars across Heritage, Rally, Touring, All-road, and Experimental. Each has a drivetrain, output, weight, and five ratings: TOP SPEED, ACCELERATION, GRIP, BRAKING, and ROUGH ROAD. Rather than selecting the highest top speed from the outset, prioritize the rating that addresses where you are losing time.
- Running wide at every entry: prioritize BRAKING and GRIP.
- The car will not settle on gravel or snow: try a higher ROUGH ROAD rating.
- Stable exits but weak pace on straights: consider ACCELERATION, then TOP SPEED.
- Inputs feel too busy: avoid high-output, lightweight cars and return to one you can finish consistently.
Drivetrain affects behavior, but its name alone does not determine the answer. Run two cars on the same route with the same preset, then compare off-course time and final time. Treating the first lap as familiarization and the second as the comparison makes their differences easier to identify.
Change one setup item at a time
SETUP stores an engine map, final drive, differential lock, suspension, brake bias, steering rate, transmission, traction control, and ABS for each car. These settings affect acceleration, top speed, lateral damping, steering response, braking, and stability on rough surfaces; they are not merely displayed values.
Begin tuning from one of the four presets. Moving several sliders at once hides the reason for any improvement. If direction changes feel slow, adjust only steering rate by five to ten points and run the same car and route twice. Restore it if there is no improvement, then test suspension. Since settings are saved per car, keeping one comparison car on Balanced is also useful.
Four laps toward a better time
- Lap one: prioritize finishing and learn the five checkpoints and difficult sections.
- Lap two: fix the braking markers and reduce OFF ROAD time.
- Lap three: adjust entry speed only in the slowest section.
- Lap four: change either one car or one setup item and compare under the same conditions.
R returns you to the latest checkpoint, but the timer continues. On a record attempt, do not drive on the assumption that you can recover. In practice, complete a difficult section and identify which input caused the failure; that gives the next lap useful information.
Related links
About this article
Written by rin0420, the developer of the games and tools published on this site. The screenshots and figures shown here were captured from the live versions by using them directly.
Published July 14, 2026 / Last updated July 25, 2026 (screenshots added)